
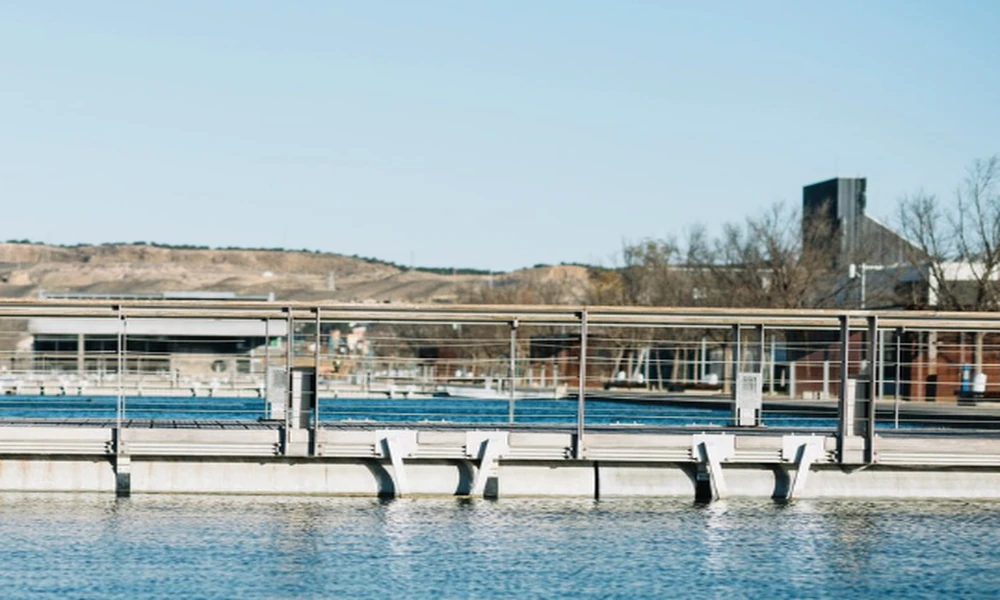
A floating dock can make it easier to board a boat, launch a kayak, or spend time by the water. Because it rises and falls with changing water levels, it can work well in many lakefront and sheltered coastal settings.
Still, a successful floating dock installation takes more than connecting sections and pushing them into the water. The layout, anchoring system, and shoreline access all need to suit your property.
Some modular docks are manageable for experienced homeowners. Larger systems, exposed locations, and complex anchoring often need a professional installer. These five steps explain what to plan for, alongside the instructions for your specific dock.
Step 1: Check the Site and Plan Your Layout
Before ordering materials, take a close look at the shoreline and the water where the dock will sit. A calm afternoon does not tell you everything about the site. Think about seasonal water changes, boat wakes, wind, and storms.
Your site review should include:
- Water depth at expected low and high water levels.
- Bottom conditions, such as sand, mud, or rock.
- Exposure to waves, currents, and passing boats.
- A practical route from the shore onto the dock.
- Clearance from nearby docks, boats, and navigation routes.
Check which permits and approvals apply before work begins. The layout and anchoring method may also need to meet local requirements.
Next, decide how you will use the dock. A small kayak launch has different space and load needs than a platform used for mooring a boat and seating several guests.
Sketch the layout, including the access ramp or gangway. Leave enough room for people to move without stepping around benches, cleats, or stored gear. Confirm that the dock’s rated capacity suits the intended use.
Step 2: Inspect and Assemble the Dock Sections
Unpack the parts and compare them with the manufacturer’s checklist. Look for damaged sections, missing connectors, cracked floats, or bent brackets before assembly starts.
Many modular systems support straight, L-shaped, or T-shaped layouts. However, the available shapes and connection points depend on the product. Choose a layout the system is designed to support.
Assembly methods also vary. Some docks can be partly assembled on level ground, while others use tools that connect sections in the water. Follow the recommended sequence rather than assuming the entire dock should be built on land.
During assembly:
- Use the specified connectors and compatible hardware.
- Attach separate floats where the design requires them.
- Follow the stated tightening or torque instructions.
- Keep joints aligned without forcing parts together.
- Check that the launch route is clear.
Do not seal factory vents or other openings unless the instructions require it. Some floating dock designs rely on those openings to function correctly.
A careful check now is much easier than fixing a missed connection after the dock is in position.
Step 3: Launch and Position the Dock Carefully
Plan the launch before moving any sections. The dock’s weight, shoreline slope, and available access will determine how much help and what equipment you need.
A small modular section may be easy to handle with assistance. A large assembled platform may require suitable lifting or launch equipment. Do not assume two people will be enough for every system.
Choose calm conditions and wear properly fitted life jackets when working near or over the water. Keep hands and feet clear of gaps between moving sections.
Use suitable handling lines to guide the dock into its planned position. Keep it under control throughout the launch, and follow the installation plan for temporary restraint.
Before final anchoring, check the alignment with the shoreline and gangway. Allow clearance for expected movement so the dock will not rub against a seawall, boat, or neighboring structure.
Step 4: Install the Right Anchoring System
Anchoring keeps the dock from drifting while allowing it to move vertically with the water. The right method depends on depth, bottom conditions, water-level changes, and exposure.
Common options include:
- Deadweight anchors: Designed weights connected to the dock with suitable chain or cable.
- Piles or guide pipes: Vertical supports that limit sideways movement while allowing the dock to rise and fall.
- Shore-mounted arms: Engineered connections that hold the dock away from shore while allowing a defined range of movement.
These systems are not interchangeable, and combining them without a suitable design can restrict movement or overload connections.
Anchor size, placement, and line length should come from the manufacturer’s guidance or a qualified installer. A concrete block that looks heavy may still be unsuitable for the dock and conditions.
Check that the dock can travel through the expected water-level range without binding, grounding, or becoming overly loose. Attach the gangway using its specified supports and connections, allowing it to move as designed.
If you are unsure about the anchoring layout, resolve that before putting the dock into use.
Step 5: Fit Accessories and Complete the Final Inspection
Once the dock and shoreline access are secure, add accessories that suit your activities.
Useful options include:
- Boarding or swimming ladders.
- Boat cleats and protective bumpers.
- Benches and approved storage units.
- Handrails where needed.
- Compatible kayak or personal watercraft attachments.
Use approved mounting points and account for the added weight. Heavy items placed on one side can affect how evenly the dock sits. Cleats also need proper structural connections to handle boat loads.
Before opening the dock for use, check that:
- Sections sit evenly under the intended load.
- Connectors and fasteners are correctly installed.
- The anchoring system allows the required movement.
- The gangway is supported and moves freely.
- Walking surfaces are clear of sharp edges and trip hazards.
- Ladders, rails, and other accessories are firmly attached.
Follow the manufacturer’s procedure for checking stability and loading. If a section sits unusually low or the dock shifts excessively, investigate before adding more people or equipment.
Schedule a follow-up inspection after initial use and check again after significant weather or water-level changes.
Make Good Planning Part of the Installation
A dependable floating dock starts with a layout that fits the shoreline and an anchoring system suited to the water. Careful assembly and a thorough final inspection help turn those plans into a dock that is ready for everyday use.
Keep the installation instructions and hardware details for future checks. They will make maintenance, repairs, and later upgrades easier to manage.
This post was written by a professional at Supreme Marine Floating Docks. Supreme Marine Floating Docks is dedicated to providing top-quality floating docks and marine accessories that combine durability, innovation, and superior performance. While we are a new brand, our team brings over 50 years of combined industry experience, making us trusted marina contractors Palm Beach. We are passionate about designing and delivering products that meet the highest standards, ensuring reliability and longevity in all marine environments. Whether for residential, commercial, or recreational use, our docks are crafted with precision and care, setting a new benchmark in the industry. At Supreme Marine, we don’t just build docks-we create lasting solutions.